

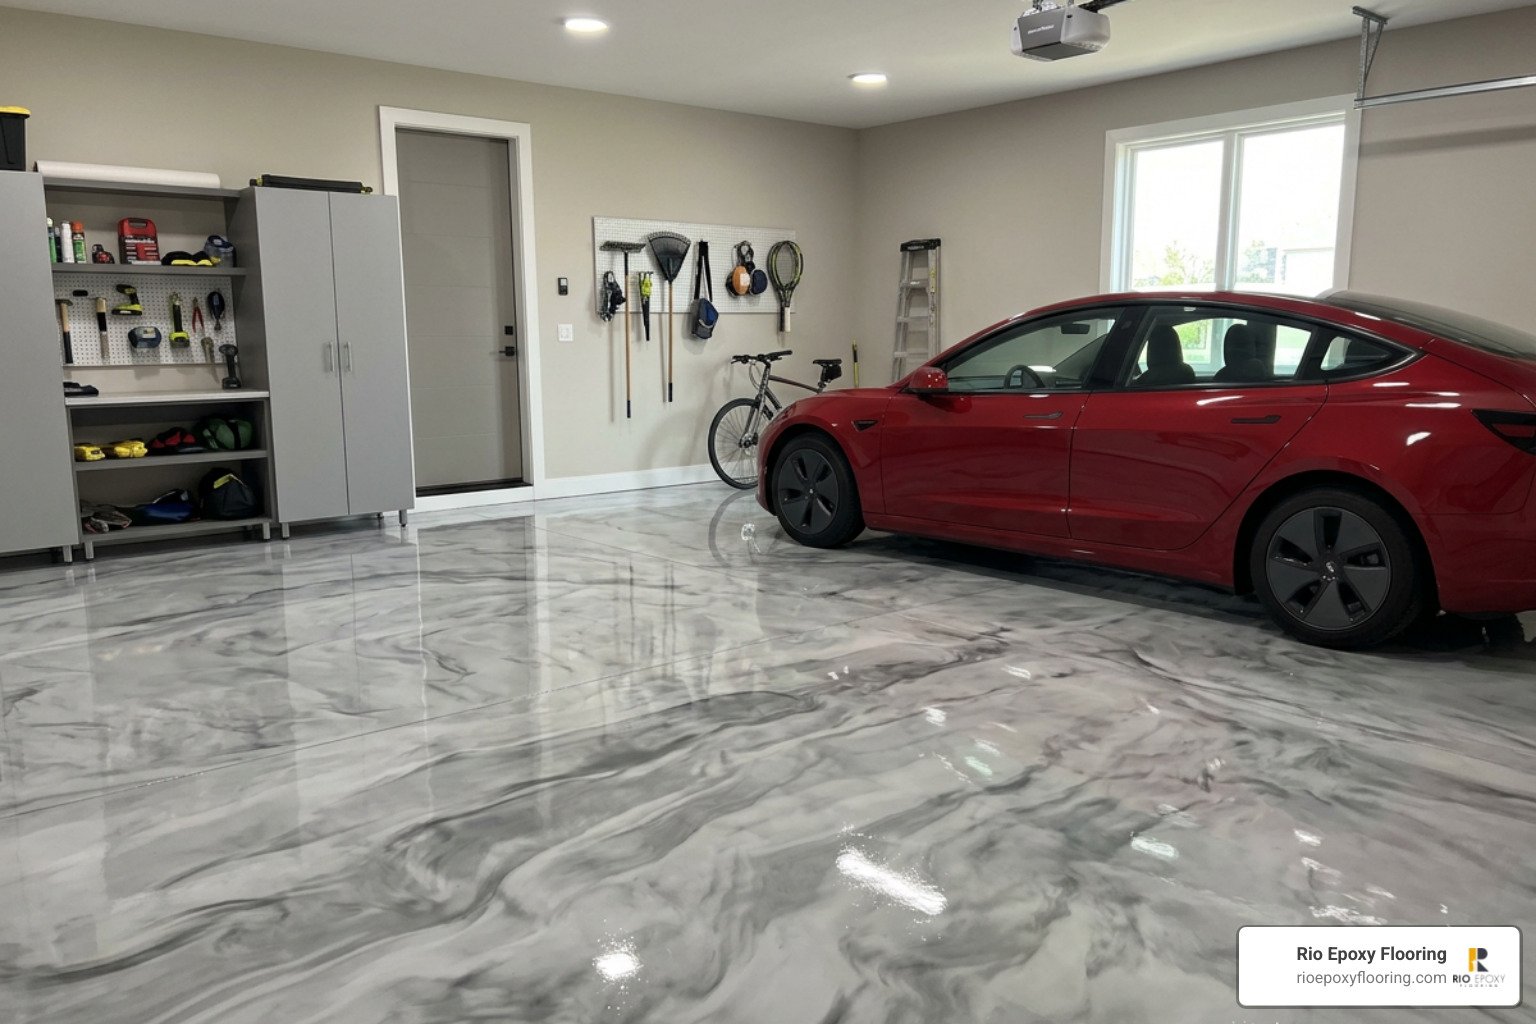
Options for a Garage Floor Coating for Marble Look
Choosing a system to replicate natural stone requires balancing visual depth, installation complexity, and chemical durability. While natural marble tiles are porous, prone to staining, and easily cracked under vehicle weight, liquid polymer coatings fuse directly with concrete slabs. Today, homeowners exploring a garage floor coating for marble look have several chemical formulations to consider, ranging from consumer-grade water-based formulas to commercial high-solids systems.
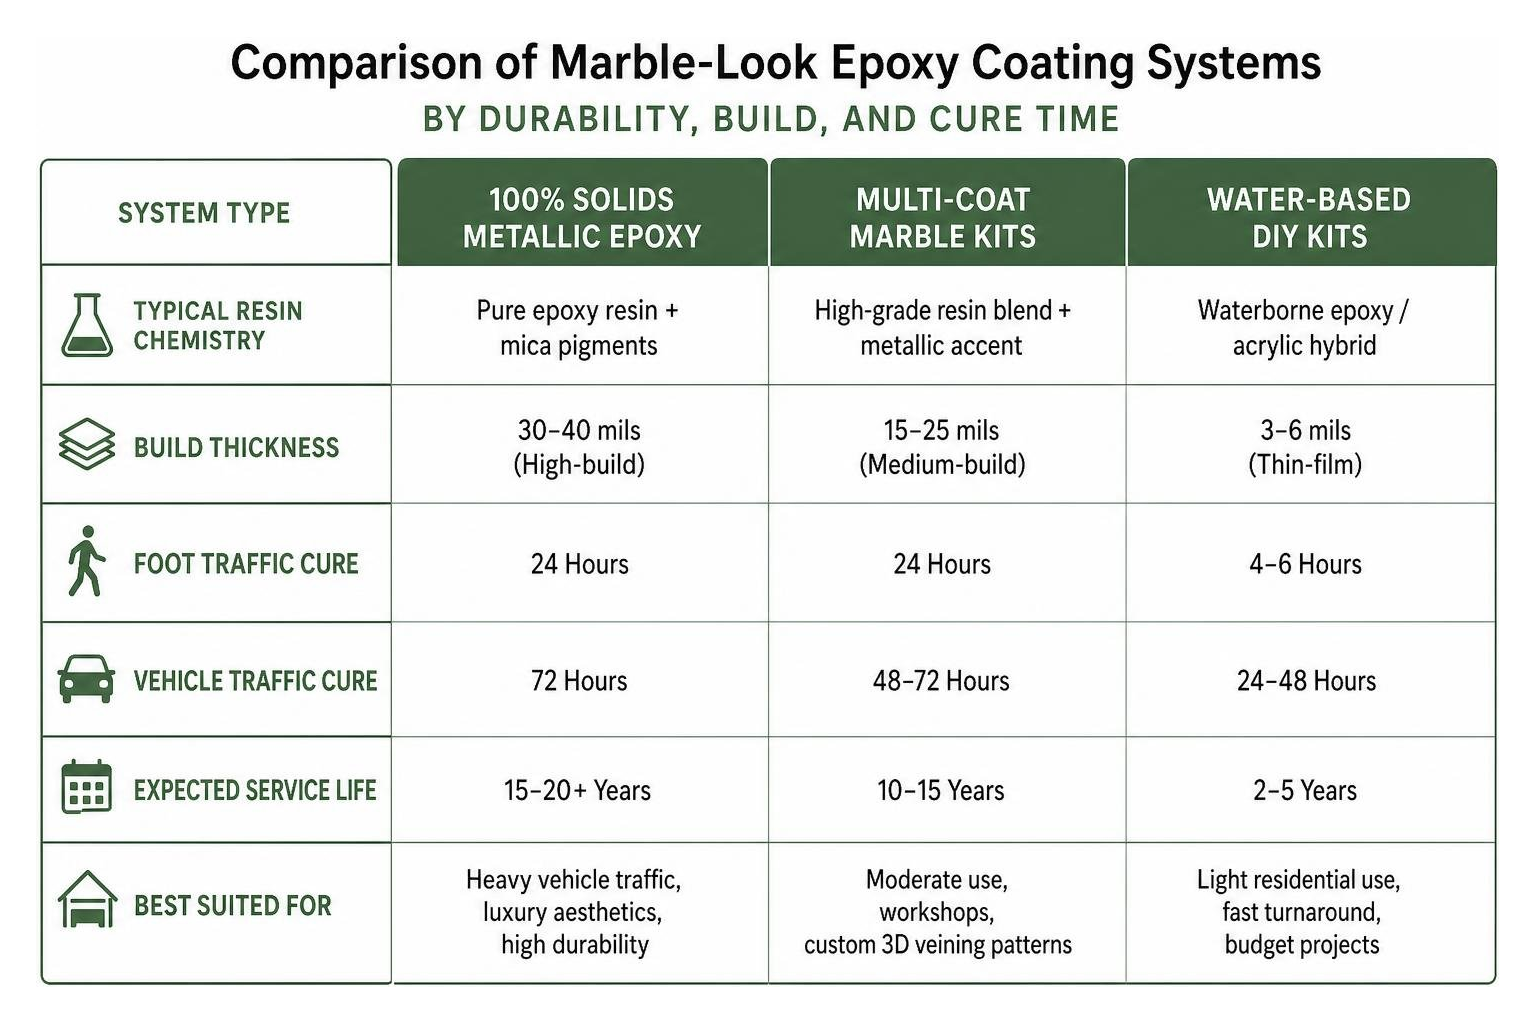
| System Type | Typical Resin Chemistry | Build Thickness | Foot Traffic Cure | Vehicle Traffic Cure | Expected Service Life | Best Suited For |
|---|---|---|---|---|---|---|
| 100% Solids Metallic Epoxy | Pure epoxy resin + mica pigments | 30–40 mils (High-build) | 24 Hours | 72 Hours | 15–20+ Years | Heavy vehicle traffic, luxury aesthetics, high durability |
| Multi-Coat Marble Kits | High-grade resin blend + metallic accent | 15–25 mils (Medium-build) | 24 Hours | 48–72 Hours | 10–15 Years | Moderate use, workshops, custom 3D veining patterns |
| Water-Based DIY Kits | Waterborne epoxy / acrylic hybrid | 3–6 mils (Thin-film) | 4–6 Hours | 24–48 Hours | 2–5 Years | Light residential use, fast turnaround, budget projects |
| Hybrid Epoxy/Polyaspartic | Epoxy base + Polyaspartic topcoat | 20–35 mils (High-build) | 12 Hours | 24–48 Hours | 15–20+ Years | Direct sunlight exposure, rapid return-to-service |
When mapping out your design, explore 10 Stunning Epoxy Floor Colors Transform to see how pearlescent white, charcoal, silver, and copper pigments interact under clear resins.
100% Solids Metallic Epoxy Systems
For maximum longevity and authentic stone movement, 100% solids metallic epoxy remains the industry benchmark. Because these formulations contain no water or evaporating solvents, 100% of the wet material cures into a solid, high-build layer. This allows iridescent mica nanoparticles to stay suspended at various depths within the clear polymer, generating genuine three-dimensional optical depth.
These high-solids systems resist hot-tire pickup, road salt, automotive fluids, and dropped tools without chipping. The thicker build also bridges microscopic imperfections in the slab, creating a glass-like finish that mirrors polished Italian Carrara marble or dramatic Nero Marquina marble.
Multi-Tone Marble Kits and Water-Based Formulations
Homeowners seeking simpler installation often consider pre-packaged kits or water-based formulas. High-gloss water-based products dry to the touch in as little as 4 hours and allow recoating within 6 hours. Products like the seatyll marble-effect kit offer DIY-friendly application, covering roughly 107 square feet per unit with lower chemical odor during rolling.
Similarly, consumer kits such as the Rust-Oleum RockSolid Marble Stone system ($238.13) utilize high-strength polycuramine chemistry designed to cure quickly, while commercial complete systems like the GlobMarble 1000 Sq. Ft. Metallic Epoxy Floor Kit ($2,028.06) provide complete resin volume for large spaces. While water-based options reduce VOC emissions during application, their thin dry-film thickness makes them more vulnerable to gouging from heavy floor jacks or sharp point loads compared to thicker 100% solids resins.
Essential Concrete Surface Preparation and Repairs
Applying a marble-effect floor without adequate concrete profiling guarantees premature delamination. Epoxy bonds mechanically to open concrete pores; it does not simply stick like regular paint. If your slab has weathered a cold season, review how to Prepare Garage Floor for Epoxy After Winter to address freeze-thaw damage before applying any coatings.
Preparing Concrete for a Garage Floor Coating for Marble Look
Proper preparation requires opening the concrete cap to achieve an international Concrete Surface Profile (CSP) of 2 to 3, giving the floor a texture similar to 80-grit sandpaper. While retail DIY kits often include citric or muriatic acid wash packets, chemical etching can produce inconsistent porosity and introduces moisture deep into the slab.
Professional installers use planetary diamond grinders equipped with industrial vacuum systems. Mechanical grinding removes weak laitance, opens clogged pores, levels uneven control joints, and profiles the surface evenly. For a deeper breakdown of structural floor prep, consult our comprehensive Epoxy Flooring Guide.
Handling Old Coatings, Spalling, and Moisture Vapor
Old paints, sealers, and motor oil stains must be stripped completely before applying your base coat. Oil-soaked concrete requires industrial-grade emulsifiers followed by diamond grinding. Minor cracks, pits, and spalling joints should be filled using a rigid 100% solids epoxy patch gel or floor patch PRO compound. Once cured, grind the patches flush with the surrounding concrete.
Moisture vapor transmission is the leading cause of floor coating failure. Hydrostatic pressure pushes ground moisture through the concrete pores, creating blisters and peeling under impervious epoxy films. Applying a dedicated moisture seal epoxy primer creates an impermeable vapor barrier, preventing vapor pressures up to 15–20 lbs per 1,000 sq. ft. from loosening your decorative coats. Using modern Low VOC Epoxy Flooring Benefits keeps indoor air safe throughout this critical priming stage.
How to Apply a Marble-Effect Epoxy Floor: Step-by-Step
Creating a natural marble pattern requires combining chemical timing with artistic swirling techniques. Unlike standard solid coatings, metallic pigments move continuously until the resin gels. For creative color combinations and layout inspiration, browse these Top 10 Metallic Epoxy Floor Ideas.
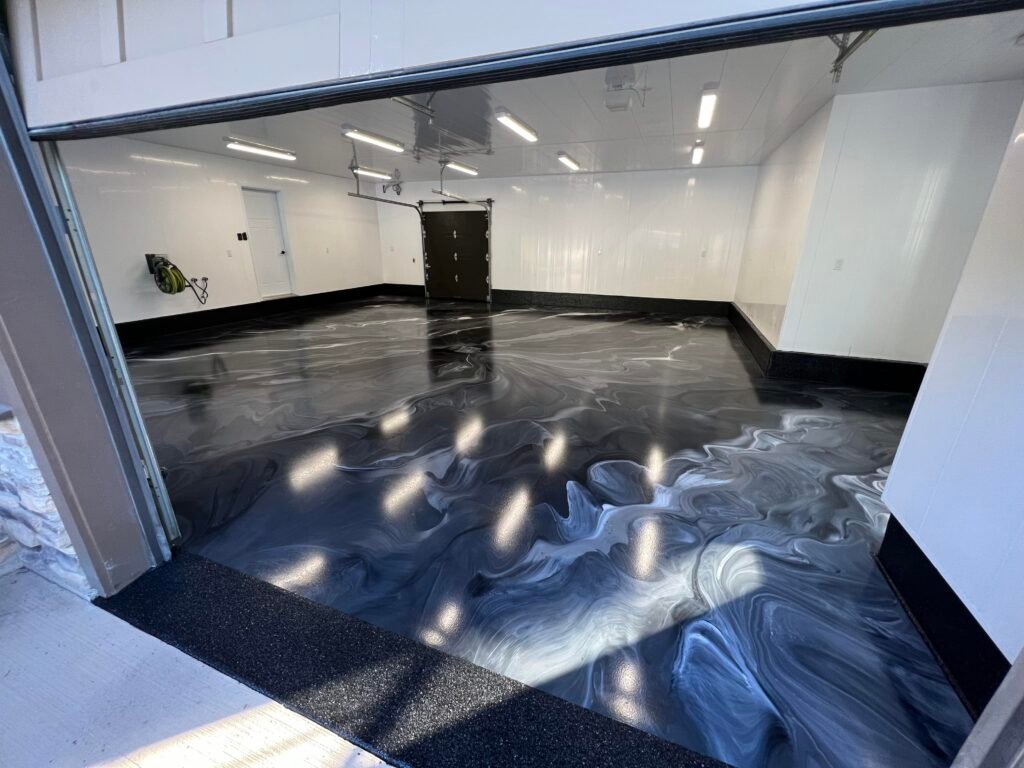
Step-by-Step Garage Floor Coating for Marble Look Application Guide
Achieving high-end veining involves precise execution across multiple structural layers:
- Base Primer Application: Roll out a pigmented moisture-barrier epoxy primer (typically solid black or pure white, depending on your target marble tone). The primer seals the concrete pores, prevents outgassing bubbles, and provides a uniform background for the translucent metallic midcoat. Allow it to cure for 12 to 16 hours.
- Mixing Metallic Resins: Thoroughly mix Part A resin with metallic mica powders using a mechanical paddle mixer at low RPM to avoid whipping air into the liquid. Blend in Part B hardener according to exact manufacturer ratios (typically 2:1 by volume).
- Pouring the Base Field: Pour the mixed metallic resin onto the floor in long ribbons. Spread the material evenly at 30–40 mils using a notched squeegee, then back-roll lightly with a lint-free 3/8-inch nap roller.
- Creating Veins and Movement: While wearing spiked shoes, walk into the wet epoxy to drizzle contrasting accent ribbons (e.g., charcoal, silver, or pearl white). Use a clean trowel, foam brush, or leaf blower on low throttle to drag and disperse the contrasting veins organically across the field.
- Solvent Dispersal Effects: Mist denatured alcohol or 91%+ isopropyl alcohol over select areas using a pump sprayer. The alcohol breaks the surface tension, pushing the metallic platelets outward to create realistic marble cells, depth, and fractured stone effects.
- Protective Clear Topcoat: After the metallic layer cures (16–24 hours), sand down any micro-nibs with 150-grit paper, vacuum thoroughly, and roll on a non-yellowing, high-gloss polyaspartic or polyurethane clear coat for UV and scratch resistance.
Curing Times, Chemical Resistance, and Hot Tire Protection
Managing chemical pot life is essential. Once mixed in the bucket, 100% solids epoxy has an active working time of only 20 to 30 minutes before exotherming (generating heat and hardening rapidly).
Once applied, allow 24 hours of cure time before introducing light foot traffic. Full chemical resistance, hot tire tolerance, and maximum hardness require 72 hours of curing under standard conditions (70°F and 50% relative humidity).
High-performance marble-look epoxies easily resist gasoline, engine oil, brake fluid, transmission fluid, and household detergents. When properly bonded, high-build systems eliminate hot tire pickup—a common failure where hot vehicle tires soften cheap water-based paint and peel it off the slab. If you are concerned about extreme seasonal climate changes, check out our analysis on Does Epoxy Flooring Peel Crack Texas Summer Heat.
DIY Application vs. Professional Installation
Transforming a utilitarian garage floor into an elegant marble showpiece is an ambitious project. Deciding whether to tackle this as a weekend DIY project or hire a specialized coating team depends on your budget, tool availability, and comfort level with quick-curing resins.
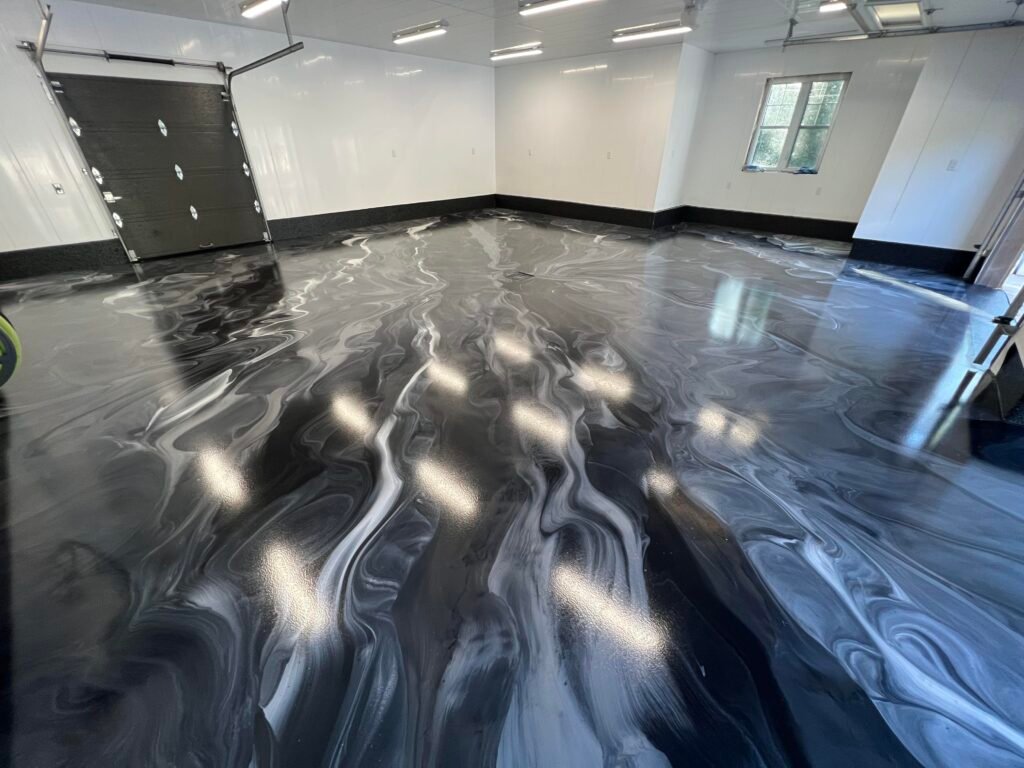
When weighing cost against longevity, our guide on Garage Floor Paint vs Epoxy highlights why professional multi-layer systems outperform basic store-bought paint kits over time.
Cost, Coverage, and Difficulty Comparison
DIY kits range from $60 for basic 100 sq. ft. waterborne sets (such as seatyll) up to $1,000 for complete all-in-one metallic systems (like Stone Coat). However, DIYers must also rent a commercial diamond grinder ($250–$400/day), purchase industrial dust extraction, obtain spiked shoes, measuring buckets, and commercial mixing equipment.
Professional installation generally ranges between $7 to $15 per square foot, depending on the concrete condition, custom veining complexity, and topcoat chemistry. Hiring seasoned installers eliminates risks like batch color mismatching, trapped moisture blisters, and uneven self-leveling. For homeowners across Central Texas, exploring Epoxy Garage Floor Coating Austin TX helps you evaluate custom designs alongside professional warranties.
Safety Precautions, Ventilation, and Maintenance
Applying floor coatings requires strict safety protocols. Always wear nitrile gloves, eye protection, and half-mask respirators with organic vapor cartridges during mixing and application. Keep garage doors cracked and place explosion-proof utility fans to exhaust fumes outdoors.
Maintaining a marble-look epoxy floor is straightforward:
- Sweep grit and dirt weekly using a soft microfiber dust mop.
- Mop periodically with warm water and a pH-neutral cleaner (avoid acidic vinegar, citrus cleaners, and harsh bleach, which dull the high-gloss sheen).
- Wipe up chemical and oil spills promptly to maintain pristine clarity.
For comprehensive cleaning practices that preserve gloss for decades, review our Maintaining Epoxy Floors Guide 2025.
Frequently Asked Questions About Marble Garage Floors
Can a marble-look coating be applied over existing cracks and stains?
Yes, but cracks, spalling, and oil spots must be fully repaired before the primer coat is applied. Cracks should be chased with an angle grinder, vacuumed, and filled with a high-strength epoxy patch gel. Oil stains must be treated with an industrial degreaser and mechanically ground down. The metallic marble coats will easily hide minor color variances on the slab, but they cannot hide unlevel surface fractures or structural movement joints.
Are marble-finish garage floor coatings slippery when wet?
High-gloss epoxy surfaces become slippery when exposed to water, oil, or rain tracked in by vehicle tires. To improve safety without obscuring the deep marble veining, fine clear synthetic aggregate or aluminum oxide anti-slip media can be broadcast into the final clear topcoat. For a deeper look at traction options, read our guide on Are Epoxy Floors Slippery.
How long does a marble-look epoxy garage floor last?
A professional 100% solids metallic epoxy system paired with a UV-stable polyaspartic topcoat easily lasts 15 to 20 years or more in a residential garage. Because the topcoat blocks UV rays, it prevents the underlying epoxy from yellowing, chalking, or fading from sun exposure through open garage doors.
Conclusion
A marble-look garage floor combines the visual drama of natural polished stone with the rugged chemical and impact resistance required for active vehicle storage, workshops, and entertainment spaces. Achieving that showroom finish requires proper mechanical diamond grinding, moisture vapor priming, skilled metallic pigment manipulation, and a durable protective topcoat.
At Rio Epoxy Flooring, we specialize in high-end, custom residential and commercial floor coatings across Austin, Texas, and surrounding areas. Our family-owned company provides fast 48-hour installations using eco-friendly, low-VOC, UV-resistant formulations backed by a lifetime warranty. Ready to transform your concrete slab into a stunning stone showpiece? Explore our Best Garage Floor Coatings Blog to find the ideal design for your home.