

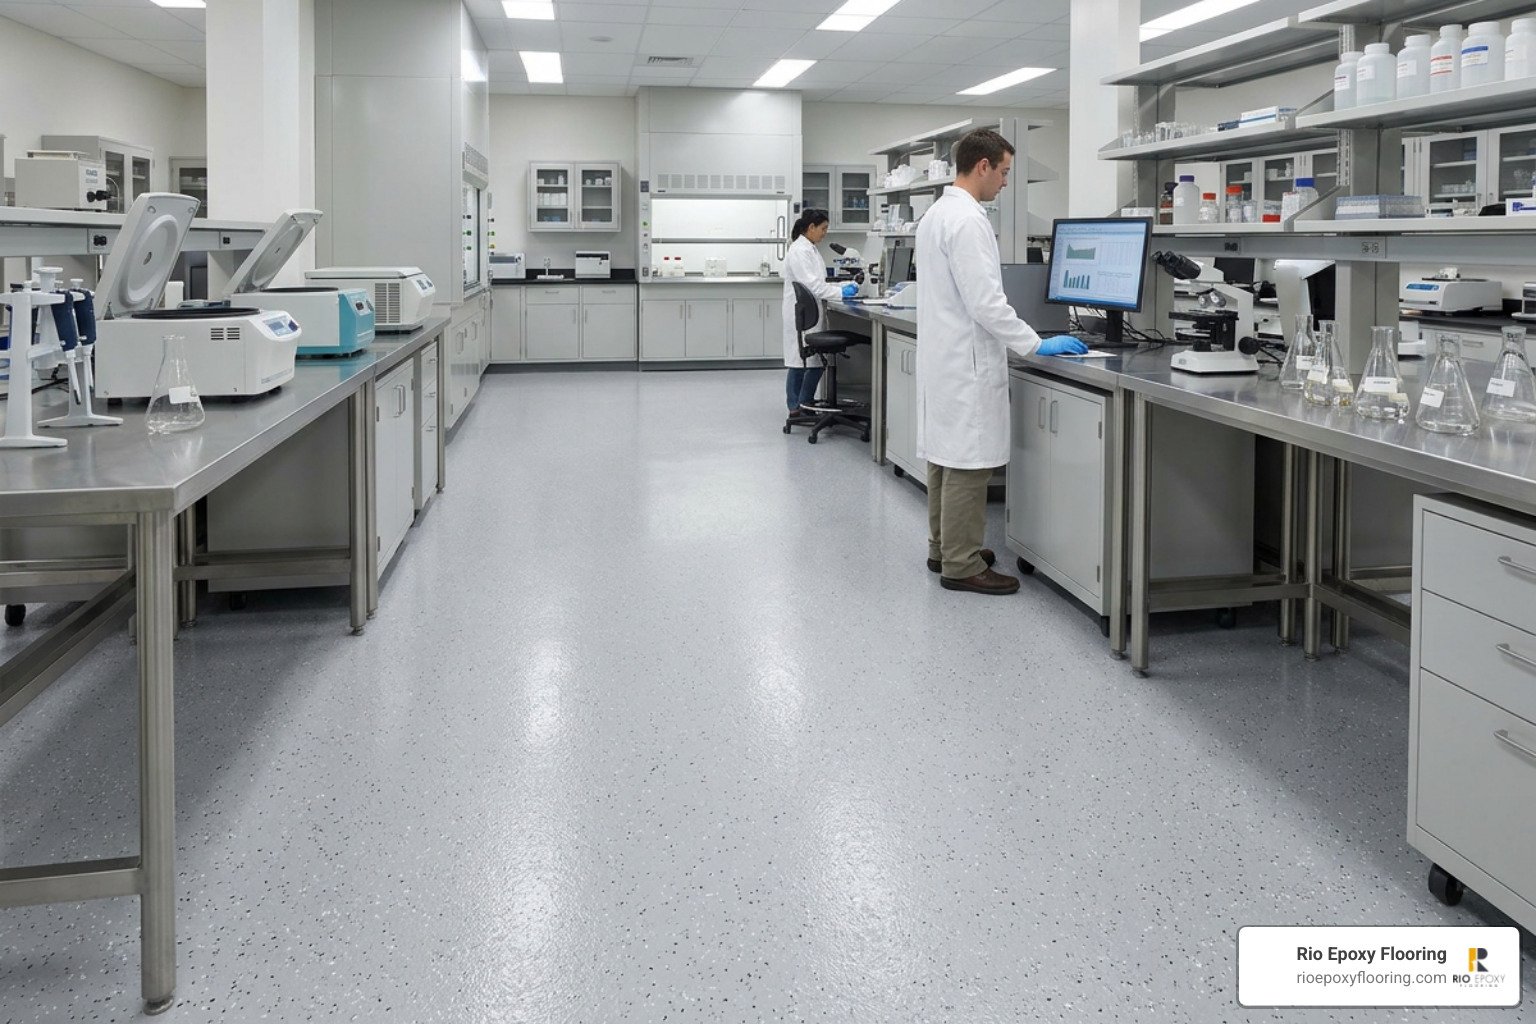
Is a Polyurea Garage Floor Right for a Laboratory?
A polyurea garage floor for laboratory use can be a strong choice when you need fast installation, a seamless surface, and reliable resistance to daily staining, traffic, and many chemical spills. For labs handling aggressive solvents, crude materials, or concentrated chemicals, specify the exact chemical exposures first: a multi-layer system with a chemical-resistant topcoat may be more suitable than a basic garage coating.
Compared with standard epoxy, polyurea systems generally cure faster and have more flexibility, which can help with minor concrete movement and repairs. Epoxy can provide a thicker build per coat, but it often needs more downtime between coats. Proper diamond grinding, crack repair, moisture testing, and a slip-resistant finish are essential for either system.
I’m Roger Aguiar, an Austin-based digital marketing professional with more than seven years of experience helping small businesses understand high-value service decisions, including polyurea garage floor for laboratory projects. This guide breaks down the performance, safety, cost, and installation factors that matter before you choose a coating system.

Why Choose a Polyurea Garage Floor for Laboratory Facilities?
When retrofitting an industrial bay or converting a commercial bay into a sterile testing space, flooring often becomes the primary hurdle. Research environments demand seamless concrete protection that resists abrasive wear, chemical spills, and heavy machinery vibration. At the same time, facilities cannot afford weeks of shutdown time.
Choosing a multi-layer industrial polyurea build solves both issues simultaneously. Polyurea chemistry creates a tight, elastomeric polymer matrix that bonds deep within concrete pores. When comparing epoxy vs polyurea coatings, polyurea delivers higher flexibility, superior elongation, and rapid turnaround times that keep research timelines on schedule.
Chemical Resistance Against Solvents, Crude, and Staining Agents
Laboratories face punishing conditions. Whether your facility tests petrochemical crude, handles analytical reagents, or uses cleaning solvents, unsealed concrete absorbs liquids instantly, creating bio-hazards and structural degradation.
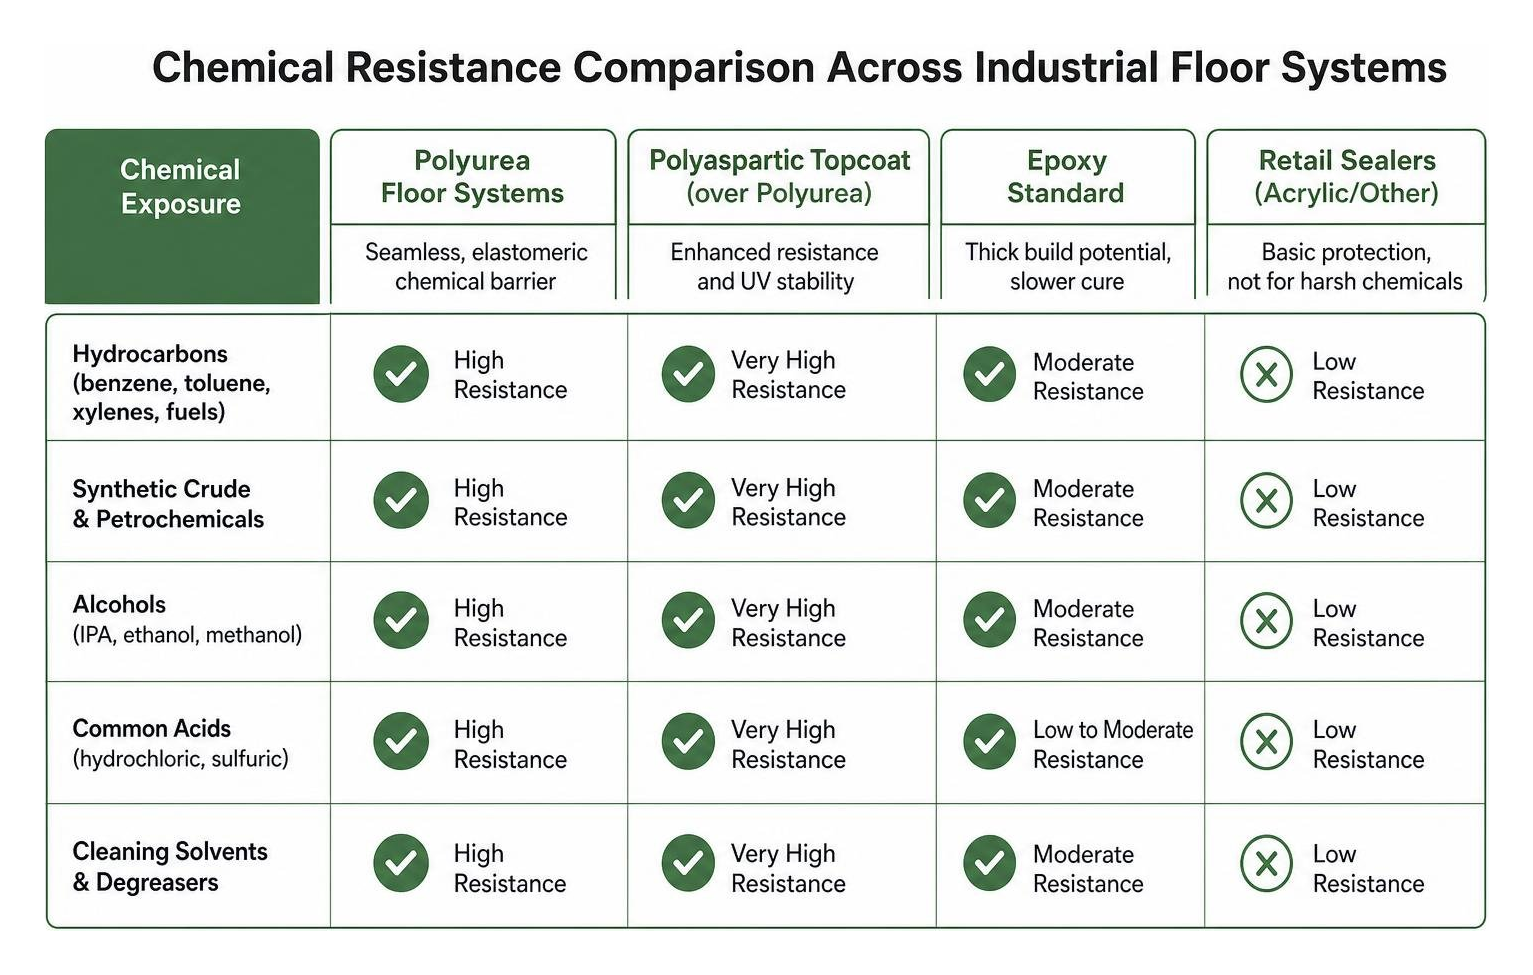
Standard retail sealers break down within months under exposure to harsh hydrocarbons and acids. In contrast, polyurea and polyaspartic topcoat systems create a non-porous chemical barrier. Hydrocarbons, synthetic crude, alcohols, and common acids cannot penetrate the surface when wiped up according to standard spill-containment protocols. For environments dealing with extreme thermal shock or constant caustic washdowns, pairing polyurea with cement urethane floor systems provides extra resilience against thermal cycling and deep chemical attack.
Structural Flexibility for Multi-Story and Modular Container Labs
Modern research is no longer confined to ground-floor concrete slabs. Many cutting-edge operations utilize second-story facilities, mezzanine cleanrooms, or deployable shipping-container mobile labs.
Second-story decks and modular steel-frame containers experience ongoing structural deflection, slight vibration from HVAC units, and thermal expansion. Rigid coatings like standard epoxies can crack and delaminate under dynamic movement.
Polyurea systems offer superior elongation and crack-bridging capability. The coating flexes alongside subfloor movement, dampening mechanical vibrations from centrifuge equipment and rolling carts without fracturing the seamless barrier.
Polyurea vs. Epoxy Performance in Lab Environments
To determine which polymer system fits your operational parameters, evaluate the differences in dry film thickness, chemical exposure thresholds, UV stability, and downtime.
| Performance Metric | Industrial Polyurea / Polyaspartic System | 100% Solids Epoxy System |
|---|---|---|
| Typical Dry Film Thickness (DFT) | ~23 mils (multi-coat system) | 32–36 mils (high-build system) |
| Walk-On Cure Time | 4 to 6 hours | 24 to 36 hours |
| Full Operational Return to Service | 24 hours | 2.5 to 4 days |
| Elongation & Flexibility | High (resists cracking & deflection) | Low/Rigid (brittle under substrate shift) |
| UV Resistance | 100% Aliphatic / UV-Stable (No yellowing) | Aromatic / Prone to ambering over time |
| Solids Content | Typically ~70%–85% solids | 100% solids (Zero VOC options) |
| Spot-Repair Simplicity | Excellent (melts chemically into previous layer) | Moderate (requires mechanical scuffing) |
Cure Time and Return to Service: 6 Hours vs 2.5 Days
In commercial research, extended facility downtime means missed milestones and lost revenue. A major operational advantage of polyurea is its cure speed.
A single coat of polyurea cures enough to support foot traffic within 4 to 6 hours. Even an industrial multi-coat system—consisting of a polyurea basecoat, a full broadcast of vinyl chip or quartz, and a polyaspartic protective topcoat—can be completed in a single working day.
In contrast, high-build epoxy systems require long recoat windows between layers. Standard 100% solids epoxy installations take a minimum of 2.5 to 4 days before technicians and light equipment can re-enter the space. Reviewing commercial coating installation timelines shows that polyurea minimizes operational disruption.
Dry Film Thickness, Solids Content, and Mechanical Wear
While polyurea cures rapidly, thickness specifications differ from standard epoxy. A high-build, 100% solids epoxy floor typically achieves a thickness of 32 to 36 mils dry film thickness (DFT). Industrial polyurea systems average around 23 mils DFT.
Epoxy provides a thick, self-leveling mass per dollar, but polyurea compensates for lower mil thickness with higher tensile strength, impact absorption, and abrasion resistance. Where rigid epoxy might chip if a heavy steel canister or tool is dropped, polyurea absorbs and dissipates the impact energy.
Surface Preparation, Application, and Recoating Protocols
A laboratory floor coating is only as durable as the mechanical bond beneath it. Skipping proper concrete preparation is the primary cause of premature coating delamination.

Diamond Grinding, V-Notch Crack Repair, and Subfloor Preparation
Acid etching is never sufficient for high-specification laboratory environments. Acid washing leaves behind chemical salts, fails to open tight concrete pores uniformly, and introduces unwanted moisture into the slab.
Professional installation requires mechanical diamond grinding using industrial planetary grinders equipped with HEPA-filtered, dustless extraction vacuums.
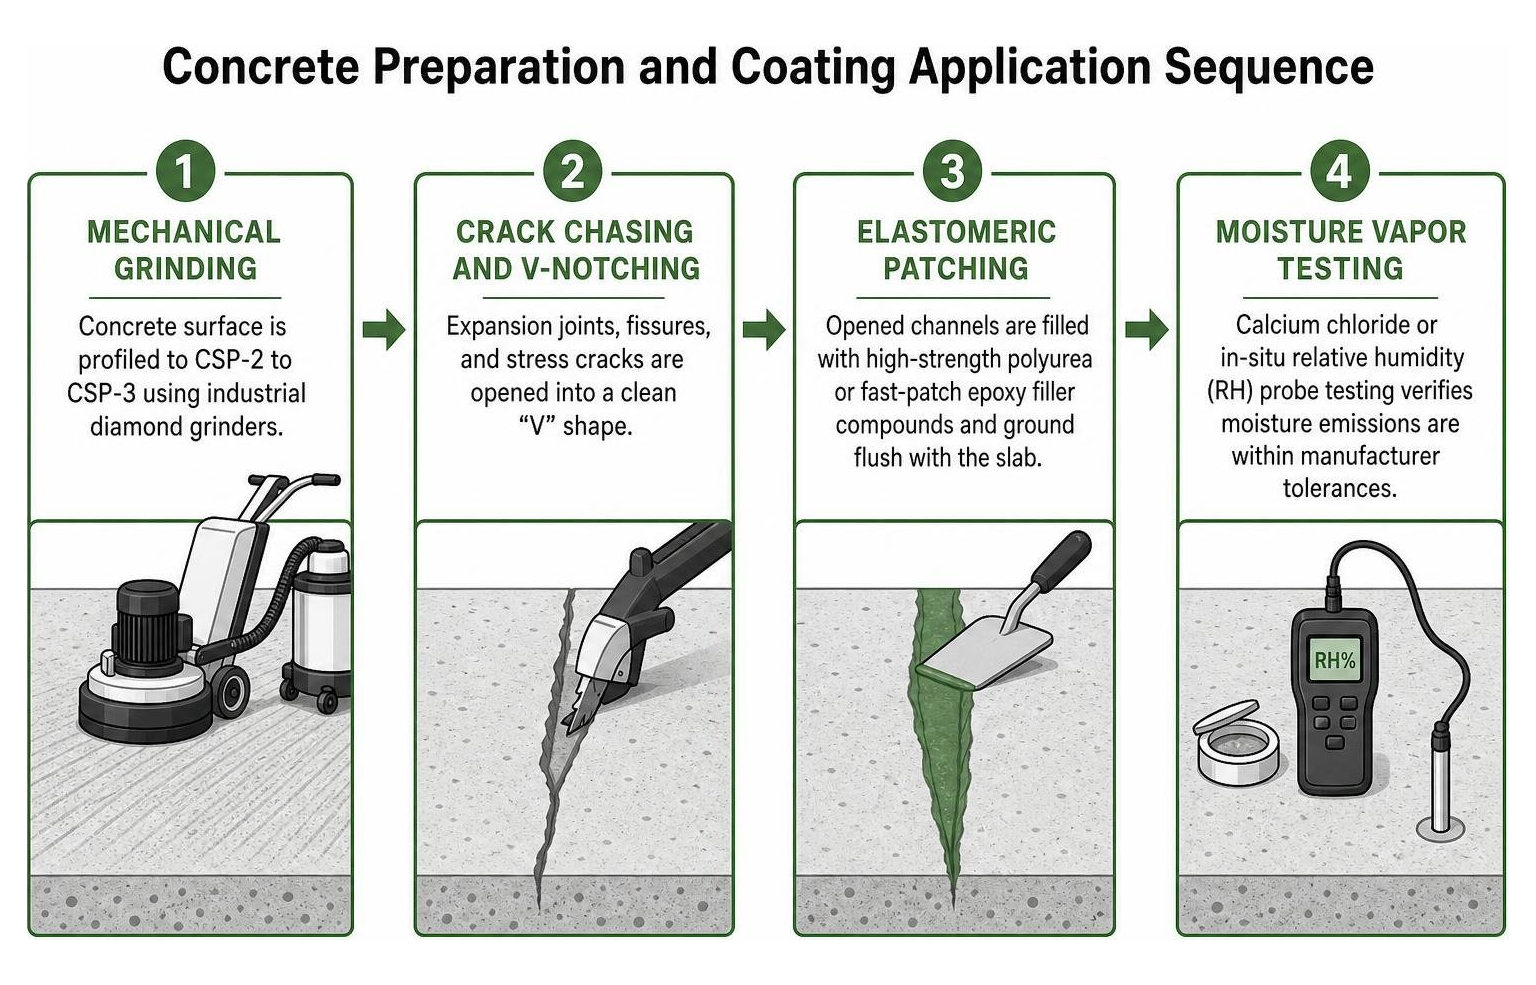
- Mechanical Grinding: The concrete surface is profiled to a concrete surface profile (CSP) rating of CSP-2 to CSP-3, creating a rough texture similar to 80-grit sandpaper.
- Crack Chasing and V-Notching: Existing expansion joints, fissures, and stress cracks are opened using diamond crack-chaser blades into a clean “V” shape.
- Elastomeric Patching: The opened channels are filled with high-strength polyurea or fast-patch epoxy filler compounds and ground flush with the slab.
- Moisture Vapor Testing: Calcium chloride or in-situ relative humidity (RH) probe testing verifies that moisture emissions are within manufacturer tolerances before liquid coatings are applied.
Applying Polyurea Over Existing Epoxy and Damaged Coatings
Many laboratory spaces already have failing epoxy paints, urethane sealers, or worn coatings. You do not always need to demolish the underlying slab down to aggregate if the existing base coating is structurally bonded to the concrete.
To apply polyurea over existing coatings:
- Decontaminate the Substrate: Degrease and clean the floor using industrial cleaners to remove oil, crude residues, chemical spills, and biological contaminants.
- Mechanical Scarification: Diamond-grind the existing epoxy to completely remove gloss, scuff the surface, and remove all loose or peeling sections.
- Prime and Cross-Link: Apply a specialized bonding primer engineered to bridge the old epoxy substrate with the new polyurea basecoat, ensuring maximum cross-laminar adhesion.
Safety, Compliance, and Installation Investment
Lab floor specifications require balancing upfront installation capital against long-term maintenance, sanitization compliance, and worker slip safety.
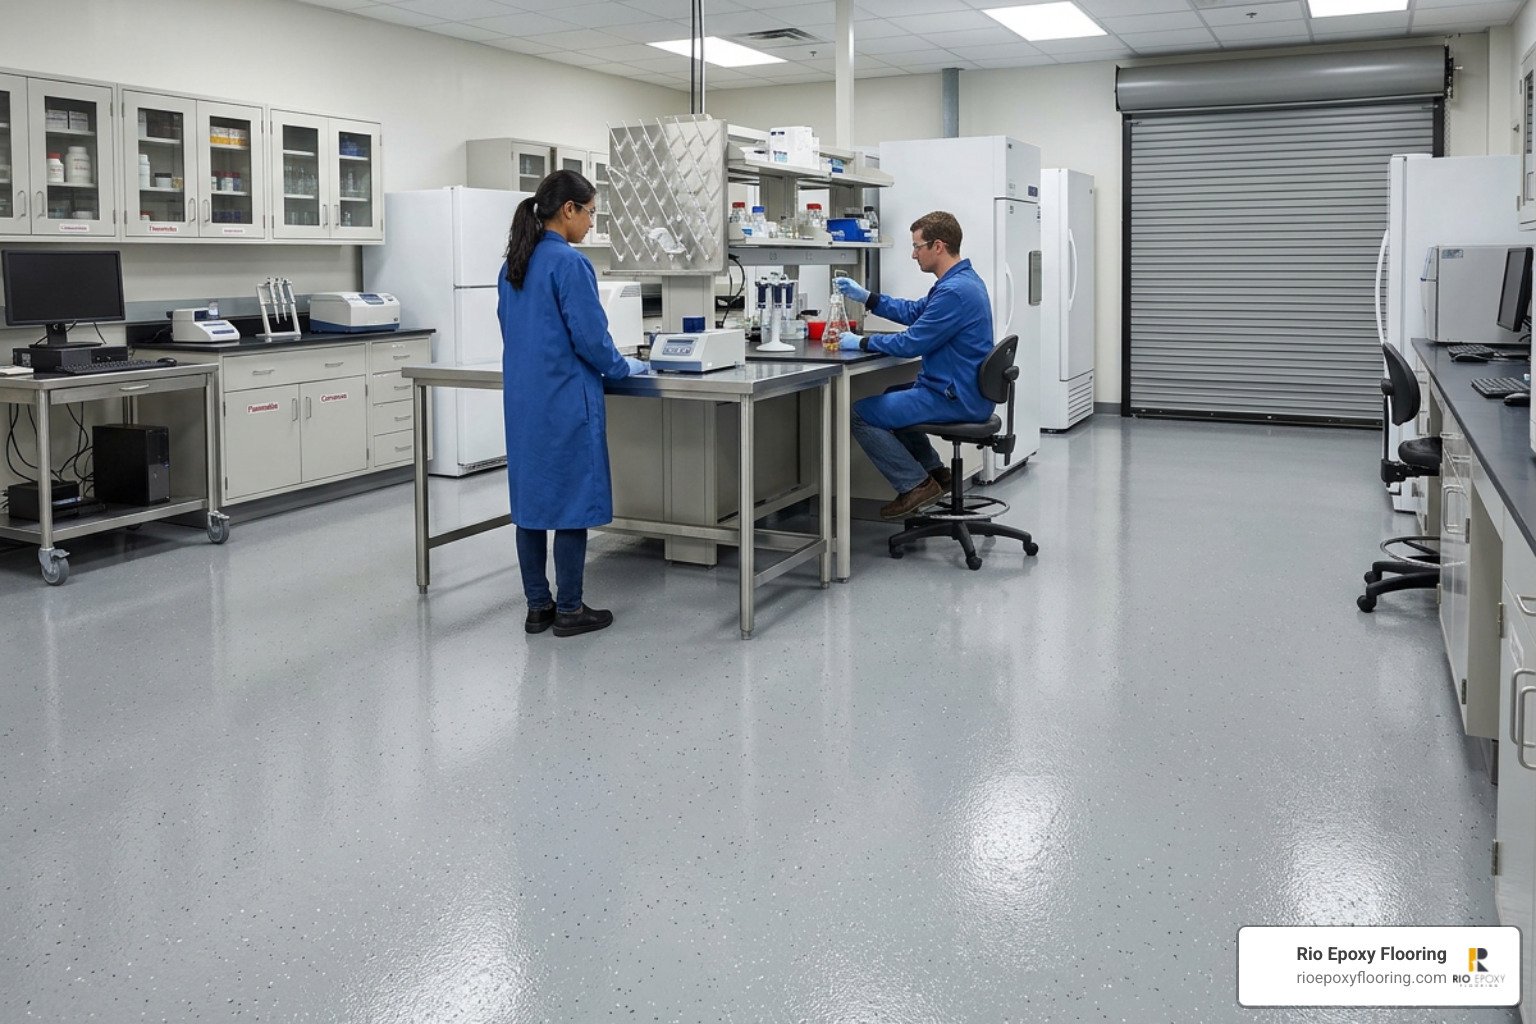
Cost Comparison: Polyurea Garage Floor for Laboratory vs Commercial Epoxy
Budget planning for research facilities requires assessing both upfront installation costs and lifecycle expenses. A basic DIY garage kit using lower-grade epoxy paints might run around $3,000 for a 1,400 sq. ft. area, but these systems typically fail within 12 to 24 months under regular chemical exposure.
Professional laboratory-grade installations reflect commercial-grade chemistry and rigorous preparation:
- Standard Professional Epoxy Systems: Typically range from $5 to $9 per square foot depending on slab conditions and thickness requirements.
- Multi-Layer Polyurea / Polyaspartic Systems: Generally range from $6 to $12 per square foot. For specialized medical or cleanroom grades with integrated cove bases, costs can reach $13 to $15 per square foot.
While polyurea requires a slightly higher initial capital outlay than basic epoxy, it eliminates recurring shutdowns and re-coating costs every few years. You can review current market metrics in our guide to commercial floor coating costs in 2026.
Slip Resistance and Anti-Skid Textures for Wet Lab Areas
Smooth high-gloss coatings become slippery when wet. Laboratories that use water baths, chemical wash stations, or frequent disinfectant mop-downs require intentional slip mitigation.
We customize traction profiles by embedding functional aggregates into the basecoat before applying the polyaspartic clear coat:
- Vinyl Flake Broadcast: Distributes colored flakes across the wet polyurea, providing a light, uniform orange-peel texture that is easy to mop while maintaining solid footing.
- Spherical Quartz Aggregate: Offers higher mechanical traction and compressive strength for high-traffic zones.
- Aluminum Oxide or Polymer Grit Additives: Dispersed into the topcoat to create an aggressive slip-resistant profile without creating sharp, difficult-to-clean crevices.
Finding the right balance ensures wet-area traction while allowing sanitary mops to glide smoothly across the floor. You can read more about balancing traction and maintenance in our article on anti-slip flooring textures.
VOC Compliance and Cleanroom Sanitary Standards
Indoor air quality and chemical outgassing are critical factors for active research environments, vivariums, and facilities certified under Good Manufacturing Practice (GMP) guidelines. Solvent-heavy coatings can contaminate sensitive experiments or force surrounding building wings to evacuate during application.
Using high-solids, low-odor polyurea and zero-VOC base systems protects research work and facility personnel. Understanding the low-VOC floor coating benefits ensures your chosen system aligns with LEED standards, OSHA requirements, and cleanroom sanitization protocols.
Additionally, we install integral seamless vertical cove bases (curving up the wall 4 to 6 inches). This eliminates the floor-to-wall 90-degree corner, preventing moisture, mold, and chemical residue from accumulating in hard-to-clean edges.
Frequently Asked Questions About Laboratory Floor Coatings
How to Spot-Repair a Polyurea Garage Floor for Laboratory Spaces?
Unlike traditional epoxies that cure into rigid, non-reactive plastic layers, polyurea displays unique thermoplastic re-bonding characteristics. If a section is gouged by dropped equipment, the damaged area can be mechanically scuffed, wiped with a solvent activator, and re-patched with a color-matched polyurea compound. The new polyurea chemically fuses into the existing floor coating rather than merely sitting on top of it, creating an invisible, leak-proof patch.
Can polyurea handle heavy lab equipment and rolling carts?
Yes. Industrial polyurea formulations possess high compressive strength and wheel load tolerance. The elastomeric composition resists gouging, point-load compression from heavy analytical racks, and the continuous rolling shear stress generated by steel-caster carts and pallet jacks.
Is a polyurea coating system UV-stable in labs with natural daylight?
Standard epoxies use aromatic curing agents that degrade, yellow, and chalk when exposed to sunlight or intense artificial UV light banks. Polyurea and aliphatic polyaspartic topcoats are 100% UV-stable. They maintain optical clarity, gloss, and true color tone over decades of direct daylight exposure without ambering.
Conclusion
Upgrading your facility with a high-performance polyurea floor system delivers an optimal balance of chemical durability, rapid cure times, impact resilience, and cleanroom-level hygiene. Whether you are executing a garage-to-lab conversion, updating a testing bay, or refinishing a multi-story research suite, polyurea provides lasting protection that keeps your facility running smoothly.
At Rio Epoxy Flooring, our family-owned team brings specialized industrial experience, advanced mechanical preparation equipment, low-VOC materials, rapid installation turnarounds, and lifetime warranty protection to every commercial project across Texas.
Ready to transform your laboratory floor? Schedule a free commercial lab flooring consultation with our expert team today.