

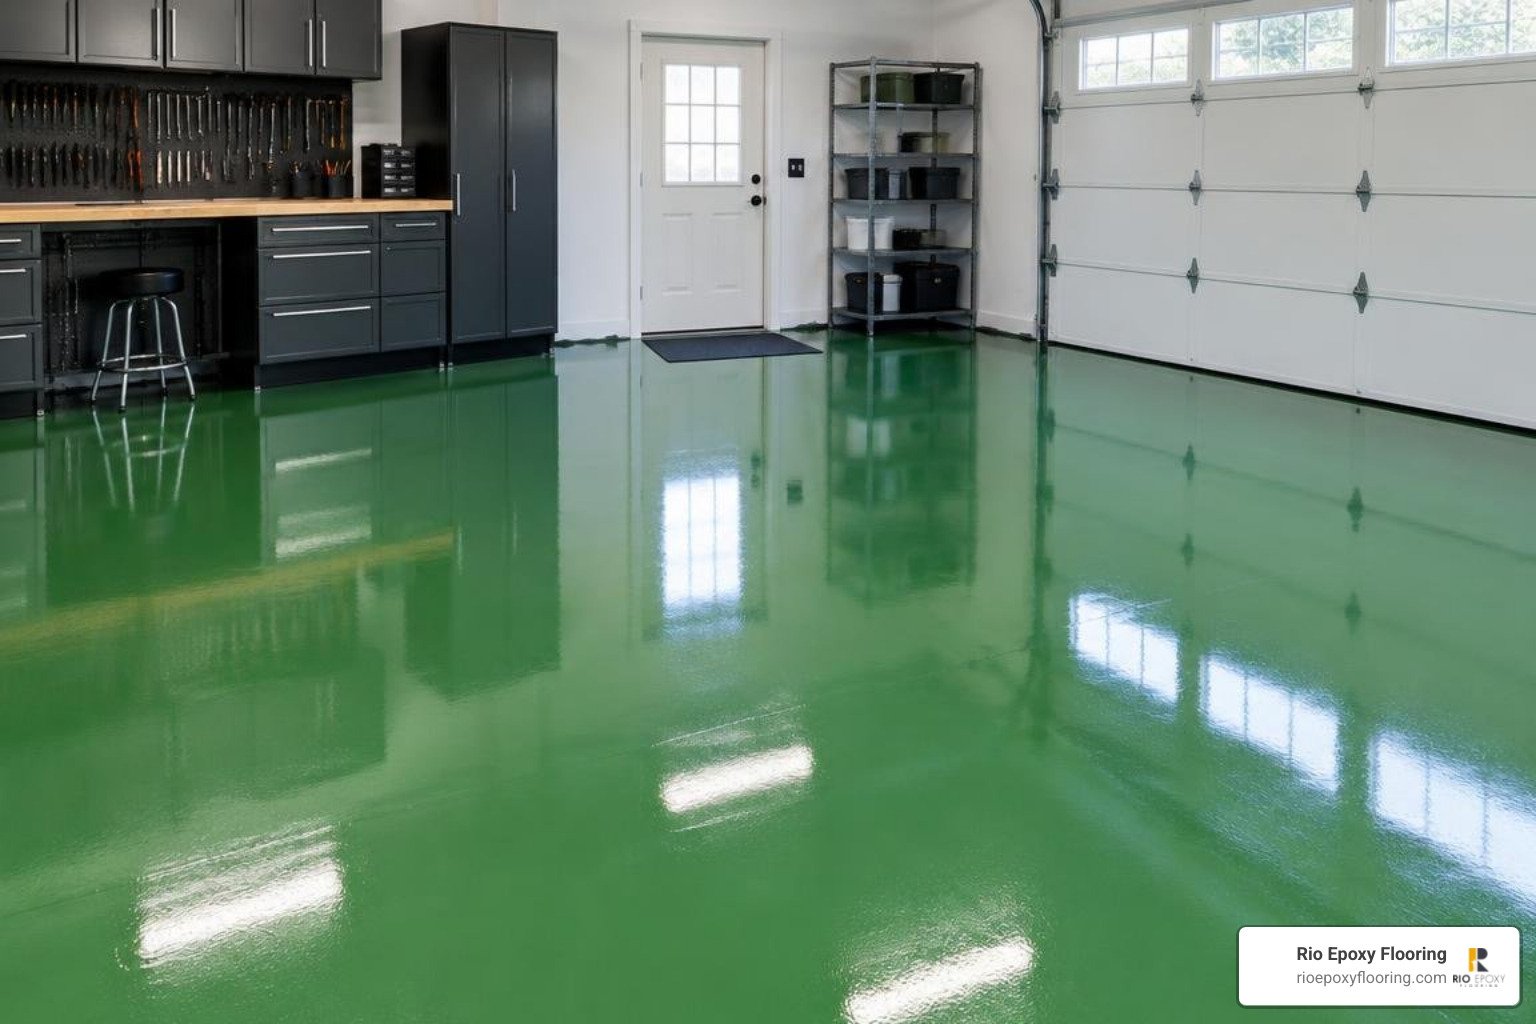
Why a Green Epoxy Floor Is a Smart, Durable Design Choice
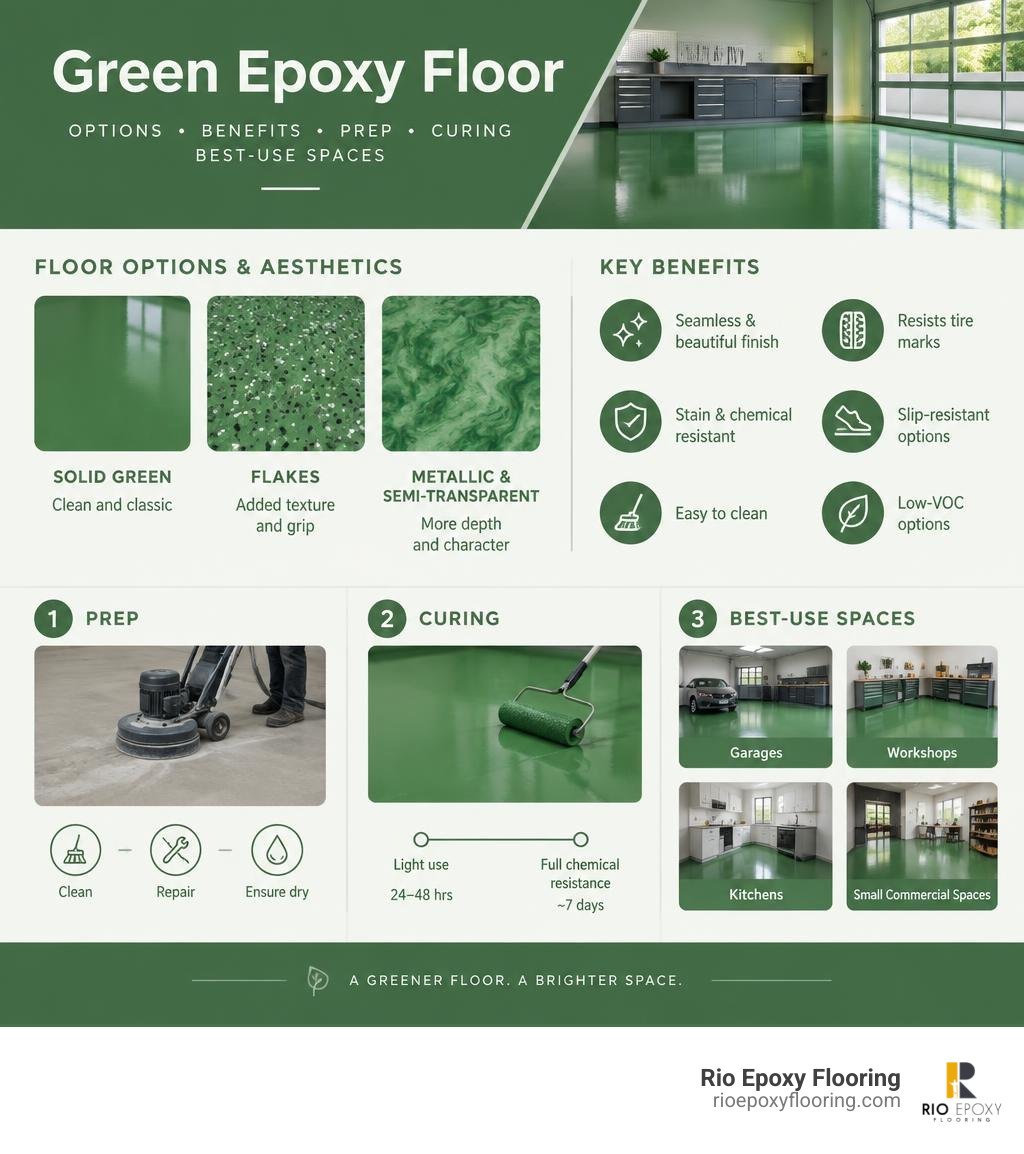
A green epoxy floor gives concrete a seamless, stain-resistant finish while adding a custom look that can range from calm sage to bold emerald. For most Austin garages, workshops, kitchens, and small commercial spaces, the best result starts with sound, dry concrete, a low-VOC coating system, and a finish chosen for the space: solid green for a clean look, flakes for more texture and grip, or metallic and semi-transparent resin for added depth.
The key decision is not just the shade of green. It is choosing a system that fits your traffic, moisture conditions, slip-resistance needs, and downtime. A properly installed epoxy floor is easy to clean, resists many chemicals and tire marks, and can reach full chemical resistance after about seven days, depending on the product and site conditions.
Green also offers more design freedom than many people expect. You can use a single rich color, blend green flakes with gray, white, and black, or build a one-of-a-kind finish that matches your walls, cabinets, branding, or outdoor landscape.
I am Roger Aguiar, an Austin-based digital marketing expert who helps local businesses communicate practical, high-value services to the people who need them. In this guide, I will break down the options, planning details, and installation basics that matter before choosing a green epoxy floor.
Relevant articles related to green epoxy floor:
Key Types and Aesthetics for Your Green Epoxy Floor
Choosing the right flooring profile begins with understanding how resins, pigments, and aggregate chips interact with light, foot traffic, and the concrete substrate below. Green coatings range from clinical, ultra-clean solid tones to multi-dimensional artistic pours that mimic natural stone or deep ocean currents.
When planning your aesthetic, you must factor in sheen levels (gloss, satin, or matte), pigment dispersion, and the physical texture required for day-to-day safety.
| Flooring Style | Visual Profile | Best Application | Slip Resistance | Durability Profile |
|---|---|---|---|---|
| Solid Color (RAL 6000 / Forest) | Clean, uniform, high-gloss or satin | Commercial kitchens, cleanrooms, minimalist garages | Moderate (additives recommended) | High chemical & scratch resistance |
| Full Flake Broadcast | Textured, multi-tone granite appearance | Garages, workshops, exterior patios, toy barns | High natural traction | Maximum impact & abrasion resistance |
| Metallic Epoxy | 3D visual depth, swirling pearlescent veins | Showrooms, residential living areas, retail boutiques | Moderate (smooth gloss) | High wear, sensitive to direct UV |
| Semi-Transparent / Translucent | Tinted glaze showing underlying substrate | Artistic concrete studios, modern office suites | Low to moderate | Moderate-to-high indoor protection |
For specialized architectural projects, advanced systems like transparent and semi-transparent green resins allow installers to tint surfaces while preserving visible textures below, opening up creative depth on polished cementitious overlays.
Solid and Semi-Transparent Finishes
Solid color green floors deliver a clean, sanitary aesthetic. Classic shades like RAL 6000 Patina Green, olive, and deep forest green provide bold coverage that hides minor substrate imperfections. Self-leveling 2K resins create a monolithic barrier without grout lines or seams, eliminating areas where dirt, grime, and bacteria can hide.
For high-traffic industrial zones, applying a heavy-duty, two-component resin provides a resilient surface that resists hot-tire pickup, oil spills, and aggressive washdowns. When topcoated with UV-stable aliphatic polyaspartic coatings, these solid systems maintain their rich color saturation without ambering or fading under indoor lighting or sunlight.
Designing a Modern Green Epoxy Floor with Flakes and Metallics
If you want visual depth or extra safety, multi-component decorative systems offer exceptional performance. When designing the perfect green epoxy floor, incorporating vinyl and acrylic flake blends provides a rich, terrazzo-like visual while naturally increasing slip resistance. Flake blends such as Arctic Cat—combining forest or lime green chips with slate gray, pure white, and jet black—create high contrast that hides tracked-in dirt.
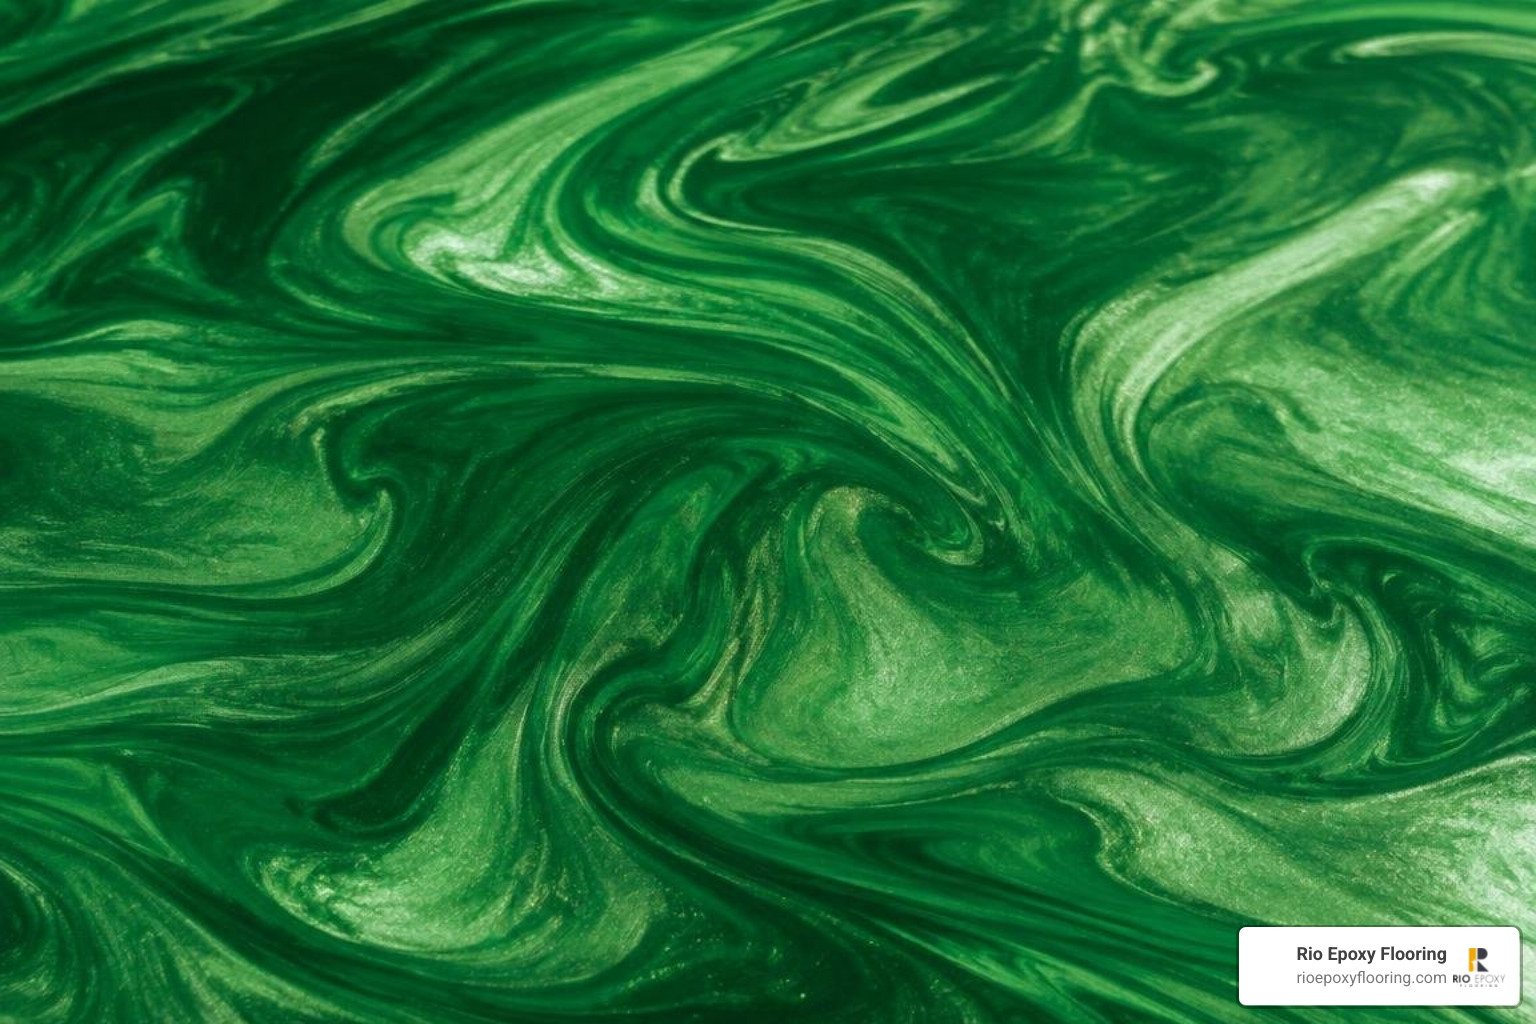
For a luxurious finish, metallic floor coatings blend synthetic mica pigments directly into clear resin. As the material self-levels, the pigments create natural eddies, ripples, and veins that resemble polished malachite or jade. Exploring top metallic epoxy floor ideas shows how contrasting tones—like metallic Bahia Green accented with deep obsidian—turn an ordinary slab into an architectural focal point. For bespoke work, matching countertops and furniture with complementary materials such as grass green epoxy resin allows for seamless aesthetic continuity across horizontal surfaces.
Material Estimation, Safety, and Curing Guidelines
A successful coating installation depends on precise material calculations, careful pot life management, and adherence to manufacturer curing schedules. Unlike single-stage paints that dry via solvent evaporation, epoxy cures through an exothermic chemical reaction between resin (Part A) and hardener (Part B).

Calculating Flake Weight and Base Coats
Underestimating materials can ruin an installation, especially during a full flake broadcast where you must achieve complete coverage before the base coat begins to gel.
- Full Broadcast Flake Rule: Concrete floor coating specialists recommend calculating 10% to 12% of the total square footage in pounds of flake aggregate. For example, a standard 900-square-foot, 3-car garage requires between 90 and 108 pounds of flake ($900 times 0.10 = 90text{ lbs}$).
- Standard Packaging Coverage: A 25-pound box of standard 1/4-inch decorative flakes covers roughly 200 to 250 square feet for a full rejection broadcast (each pound covers approximately 10 square feet to refusal).
- Base Coat Resin Calculations: High-solids epoxy or high-build polyurea base coats typically yield 100 to 150 square feet per gallon depending on the concrete surface profile (CSP). A standard 2.5-liter floor paint unit generally covers up to 15 square meters (approx. 160 sq ft) per coat, while a 5-liter unit covers up to 30 square meters (approx. 320 sq ft).
Managing VOCs, Pot Life, and Cure Times
Modern epoxy chemistry focuses on indoor air quality, low-odor applications, and rapid return-to-service timelines. Premium 100% solids and water-based coatings are formulated to be low-VOC and BPA-free, keeping living spaces free from harsh fumes during application.
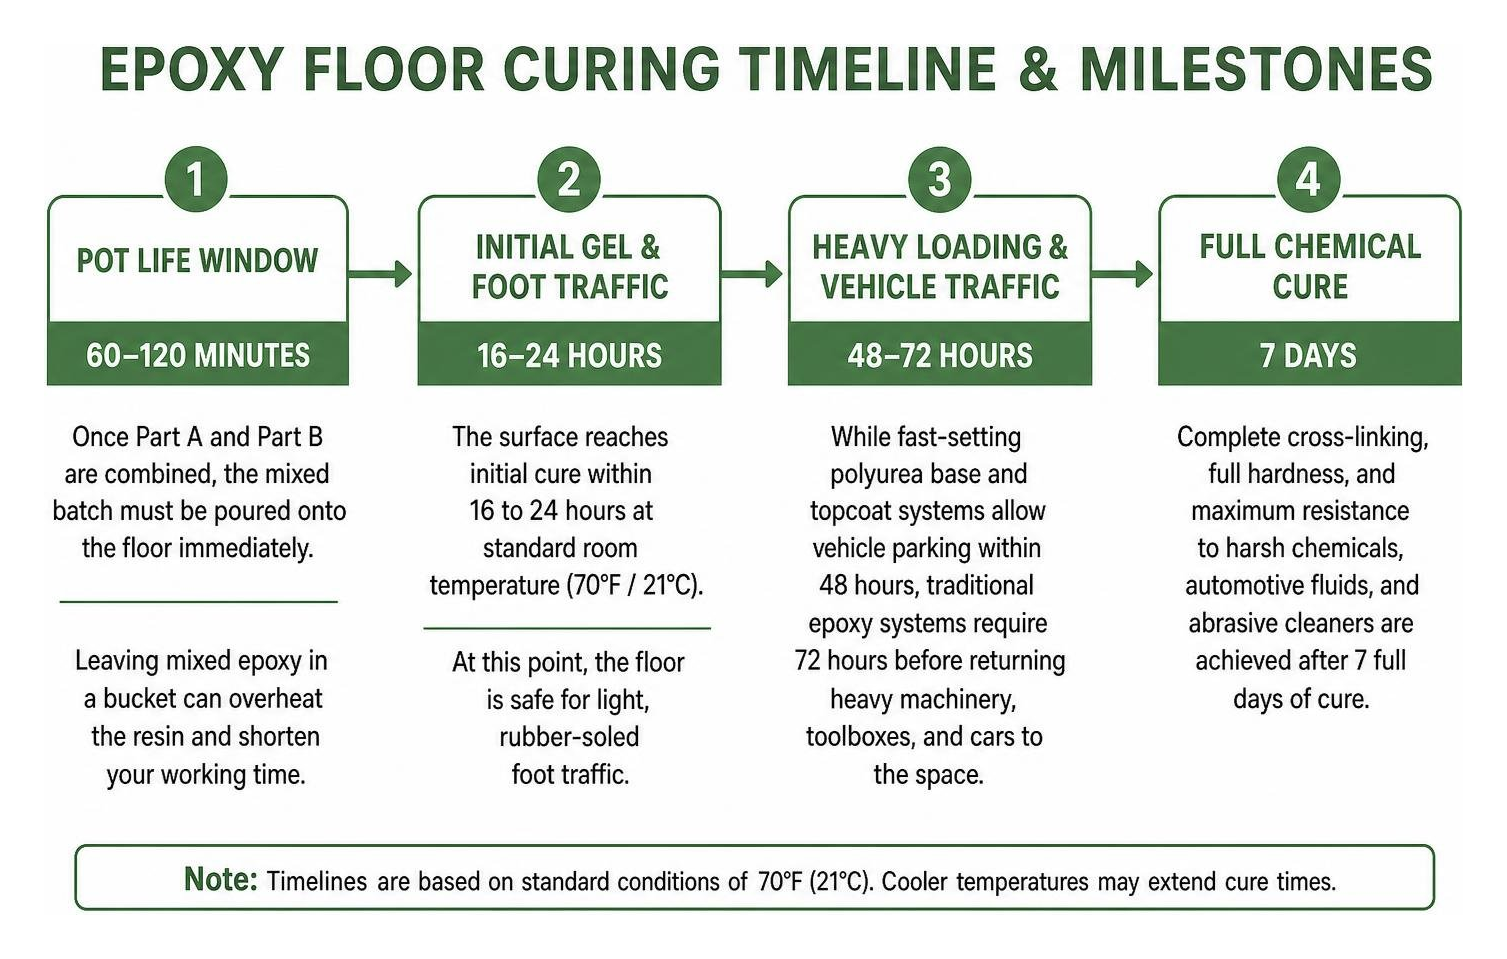
- Pot Life Window (60–120 Minutes): Once Part A and Part B are combined, the mixed batch must be poured onto the floor immediately. Leaving mixed epoxy in a bucket concentrates the exothermic reaction, which can rapidly overheat the resin and shorten your working time.
- Initial Gel & Foot Traffic (16–24 Hours): The surface reaches initial cure within 16 to 24 hours at standard room temperature (70°F / 21°C). At this point, the floor is safe for light, rubber-soled foot traffic.
- Heavy Loading & Vehicle Traffic (48–72 Hours): While fast-setting polyurea base and topcoat systems allow vehicle parking within 48 hours, traditional epoxy systems require 72 hours before returning heavy machinery, toolboxes, and cars to the space.
- Full Chemical Cure (7 Days): Complete cross-linking, full hardness, and maximum resistance to harsh chemicals, automotive fluids, and abrasive cleaners are achieved after 7 full days of cure.
Substrate Preparation and Installation Process
Even the highest-grade resin will delaminate if the underlying concrete is not properly prepared. Up to 80% of all resin coating failures stem directly from improper surface preparation or hidden moisture trapped inside the concrete slab.
When we install residential epoxy flooring solutions, our focus is on building a mechanical bond that locks the resin deep into the concrete’s open pore structure.
How to Prepare Concrete for a Green Epoxy Floor
Achieving a long-lasting bond requires a systematic preparation process:
- Mechanical Diamond Grinding: Acid etching with muriatic acid rarely provides a uniform profile and introduces unwanted moisture into the slab. We mechanically diamond grind the concrete to achieve a Concrete Surface Profile (CSP) of 2 to 3—giving the concrete the feel of 80-grit sandpaper.
- Degreasing and Decontamination: Concrete heavily saturated with engine oils or hydraulic fluids must be treated with an industrial microbial degreaser to pull contaminants from deep within the substrate.
- Moisture Vapor Testing: Calcium chloride or relative humidity (RH) probe testing verifies that moisture vapor emission rates are within manufacturer tolerances (typically under 3 lbs / 1,000 sq ft / 24 hours unless a dedicated moisture-mitigating primer is applied).
- Crack, Divot, and Spall Repair: All dynamic and static cracks, control joints, and pitted areas should be routed out and filled with a rigid two-part epoxy or polyurea patching paste, then ground flush with the surrounding concrete surface.
- Substrate Priming: A dedicated, low-viscosity primer penetrates the open pores, seals trapped air, and prevents outgassing bubbles from rising into the main green color coat.
Application Techniques to Avoid Common Mistakes
- Adhere to Exact Mixing Ratios: Epoxy chemistry relies on exact stoichiometry (commonly a 2:1 resin-to-hardener ratio by weight or volume). Always scrape the sides and bottom of the mixing container with a paddle mixer at low speed (300–450 RPM) to prevent unmixed pockets of resin that lead to sticky, uncured soft spots.
- Eliminating Surface Bubbles: Using self-venting resin formulations naturally releases micro-bubbles during the leveling phase. For thicker metallic pours, a spiked roller or fine isopropyl mist can be used across the wet coat to pop surface tension bubbles before the resin begins to tack.
- Preventing Amine Blush: Applying epoxy in cold temperatures (below 55°F / 13°C) or high relative humidity (above 80%) can cause carbon dioxide and moisture to react with the curing agent, creating a waxy, cloudy film known as amine blush. Always maintain stable ambient temperatures until the floor is tack-free.
- Even Material Spreading: Pour the mixed green epoxy in ribbons across the floor. Use a calibrated notched squeegee to distribute the resin to the target mil thickness (typically 10 to 15 mils for base coats, or up to 60–80 mils for self-leveling designer coats), followed immediately by a lint-free 3/8-inch nap roller to back-roll in a perpendicular cross-hatch pattern.
Ideal Environments and Space-Specific Recommendations
Green epoxy floors provide a clean, high-performance surface that works across a variety of residential and commercial spaces:
- Residential Garages: Green full-flake systems add color and contrast while hiding dirt, road grime, and dust between regular washings. You can consult our epoxy garage floor color guide to explore which base tones match your vehicle fleet and cabinetry.
- Commercial Kitchens and Food Prep Areas: Solid emerald or patina green coatings offer a seamless, non-porous floor that withstands daily sanitization, hot-water washdowns, cooking oils, and aggressive food acids.
- Workshops and Light Industrial Facilities: High-contrast solid green zones provide clear safety demarcation around heavy equipment, workbenches, and assembly lines while reflecting overhead LED lighting to improve workplace visibility.
- Boutique Retail and Contemporary Interiors: Pearlescent metallic green and tinted semi-transparent resin applications bring striking visual movement to creative studios and retail showrooms. For inspiration on pairing custom green tones with architectural design elements, see our guide on creative modern epoxy floor design ideas.
Frequently Asked Questions About Green Epoxy Flooring
Can green epoxy flakes be used with other coating systems?
Yes. Decorative polymer vinyl flakes are chemically inert aggregates made from acrylic and vinyl resins, making them compatible with nearly all standard floor coating base systems. They can be broadcast into 100% solids epoxy, polyurea base coats, polyaspartic coatings, and water-based floor paints without bleeding, curling, or breaking down.
Always ensure that you fully broadcast to the point of refusal if you want a textured, uniform appearance, and always apply a durable clear protective topcoat to seal the flakes.
How long does a green epoxy floor take to fully cure?
Epoxy coatings cure in stages based on ambient temperature, humidity, and the specific resin chemistry used:
- Tack-Free Time: 8 to 12 hours.
- Recoat Window: 12 to 24 hours (if applying multiple coats without mechanical sanding between layers).
- Light Foot Traffic: 16 to 24 hours.
- Heavy Foot Traffic & Furnishings: 48 hours.
- Vehicle Parking & Hot-Tire Resistance: 72 hours (or 24 to 48 hours when using fast-curing polyaspartic topcoats).
- Full Chemical & Scratch Hardness: 7 days.
How do you achieve custom green color blends and shades?
You can create custom green tones using three main coloring methods:
- Liquid Pigment Pastes: Highly concentrated paste pigments can be blended into clear resin at a 1% to 5% ratio by weight to achieve consistent solid shades like sage, olive, hunter green, or mint.
- Metallic Pearlescent Powders: Blending green metallic pigments (or combining emerald and gold mica powders) into a clear resin base creates custom 3D depth and shimmer. Products like metallic Bahia Green and Jet Black show how two complementary metallic tones can be poured together to create a dynamic stone look.
- Multi-Flake Aggregate Blending: You can hand-blend individual single-color flakes in custom ratios (such as 40% sage, 30% white, 20% slate gray, and 10% dark forest green) to match your space’s design palette. For tips on choosing hues that hold up over time, read our guide on choosing epoxy floor colors that last.
Transform Your Concrete with a High-Performance Green Epoxy Finish
A green epoxy floor offers a balance of visual style, chemical resistance, and everyday durability. Whether you prefer the clean look of a solid patina green floor, the texture and grip of a multi-color flake blend, or the depth of a flowing metallic resin system, getting lasting results comes down to thorough substrate preparation and quality materials.
At Rio Epoxy Flooring, our family-owned team uses low-VOC, UV-resistant epoxy, polyurea, and cement-urethane systems. We complete most installations in 48 hours and back our work with a lifetime warranty to ensure your new floor looks great and performs for years to come.
Ready to explore color possibilities for your concrete surfaces? Explore our guide to 10 stunning epoxy floor colors to transform your space and get started on your project today.